A Guide to Radiant Living - Where Wellness Meets Wonder

Recent Posts

Monday, February 8, 2021

How to get the Perfect Romantic Valentine's Makeup with Beauty Bakerie?

 Hello World,

Happy Makeup Monday!

Today I have a makeup tutorial for you! Yay! I created this simple soft glam look, that can be used for any of the special occasions or holidays this weekend  - rather that's Valentine's Day, Galentine's day or what I celebrate on February 14th - Frederick Douglass's birthday. 

Valentin's Day Makeup look using Beauty Bakerie products

This post is brought to you in part by Beauty Bakerie... I'm just kidding. This is not a sponsored post, but I did use mostly Beauty Bakerie products to create this look. Not because they asked be to. I just used them because their products are banging! If you want to know more about Beauty Bakerie, you should check out my last post about Black Owned Makeup Brands you should be supporting right now!  Although, since I used almost all Beauty Bakerie products, this is almost a B.O.M.B. Makeup tutorial, it is not completely. So, since you guys requested it, I will be doing a full B.O.M.B. Makeup tutorial soon. I just need to, and by need to I mean just want to, get a few more items. So stay tuned. But here is the step by step tutorial on how to create this perfect romantic makeup look using some boss products from Beauty Bakerie.!

Monday, February 1, 2021

What Black Owned Makeup Brands Should You Support Right Now?

 Hello World!

Happy Makeup Monday!

Today is February 1st, which means it's the first day of Black History Month! In honor of such, I thought it would be nice to take some time to reflect on how far makeup has come for black men and women, or even just brown skin people in general. We are blessed now to live in a time where many brands carry more extensive shade ranges and most brands are making an effort to be more inclusive. There was a time, even in my lifetime, where that wasn't the case. There's where Black Owned Makeup Brands come into play.  These are the brands that have always be there for little brown-skinned girls like me when others were not. And now, there are so many Black Owned Makeup Brands - we actually have options! And that is not only great for me, as an artist, but also it's inspiring for young black entrepreneurs. So if you're trying in get in the right, go ahead and support a Black Owned Makeup Brand! But if you're not sure where to start, I got you.
 

Here is a roundup of some of my favorite Black Owned Makeup Brands!

Monday, January 25, 2021

How to achieve that JLo Glow: JLo Beauty Honest First Impressions

 Hello World,

Last week, the always beautiful Jennifer Lopez launched her very own skincare line. It consists of seven glow-enhancing products, which makes since from JLo. And who doesn't what to have that JLo Glow? Well, I know I do, so when I saw her line was available from Sephora, I ordered immediately!

Get that JLo Glow? Yes, Please!

J-Lo Beauty Products

Of the seven products, I tried 5. Before I get into my review, let's quickly go over the two products I didn't get. First off, I didn't get That Big Screen Moisturizer. It claims to be a lightweight moisturizer with SPF 30,  that visibly plumps and protects the skin. There are two moisturizers in the line, and I decided to get the other one, which I will talk about later. No knocks on this one, but I just decided not to get it. Maybe I will try it at some other point. The other product that I didn't get was That Fresh Take Eye Cream, which I'm mad about because I am positive when I went online to Sephora to buy my stuff, it was not there. I'm sure I would have bought it because I'm always looking for new eye creams, because my dark circles are real. If you want to see what eye creams I'm currently using, you can see my full skin care routine here! Now, this eye cream claims to have patented peptides that reduce the look of dark circles and also helps with fine lines and wrinkles. Doesn't that sound great? I sounds exactly like something I would buy, so maybe I will in the future, but for now onto the stuff I did get. 

Monday, January 18, 2021

Skincare Routine for Dark Circles & Dark Spots

 Hello World, 

I said I'd be sharing my current skincare routine in my last Makeup Monday post, and here I am making good on that promise. For reference, I have oily-combination skin, and my main skin concerns are dark spots or hyperpigmentation, acne scars, and dark circles under my eyes. I have different routines for day and night, and I will be sharing both. I will say I do always like to try new products, so this routine could change, but without further ado here is my current skincare routine that has been working for me lately. For more skincare, see my previous post about my top ten skincare products. This post was from 4 years ago, and it's fun to see how much my skincare routine has changed.

Monday, January 11, 2021

Makeup Tutorial: 15 Minute Full Face

 Hello World,

I'm back for another Makeup Monday post, and today I will be breaking down my everyday makeup look that l wear to work. It's simple, professional, and most importantly quick. When I'm getting ready for work, I'm not trying to take a long time, because I don't want to get get up any earlier than I have to. I like to be up and out the door in no more than 45 minutes, so I have mastered this routine that takes no more than 15 minutes ( I have done this makeup look in as quickly as 7 minutes).  Without further ado, here is my 15 minute full face routine. 


Makeup model

Step 1: Primer

Winky Lux Whipped Cream Primer, e.l.f. Porelesss Putty Primer
Just because we're moving fast, doesn't mean we should skip primer. Primer is important in helping you makeup last longer. I use it as the last step in my skincare routine ( I will go over current skincare routine in another post). For primer, right now I switch between the Winky Lux Whipped Cream Primer and the e.l.f.  Poreless Putty primer. Both of these primers are really good for smoothing pores and giving your skin a smooth base. But you can use any primer that is most useful for your skin concerns. Like in the summer,  I would use a mattifying primer, because my skin is more oily, and as we get deeper into the winter, I'll probably start using a more moisturizing primer, since my skin is usually a little drier in the winter. For application, just apply a quick thin layer. I like to focus my primer in my t-zone, but I apply all over my face. 

Monday, September 14, 2020

Makeup Monday: Rare Beauty by Selena Gomez

 Hello World!

So Selena Gomez has come out with her own makeup line - Rare Beauty! And it was no soft launch like a lot of new brands do. It has nearly everything. I'm talking face, lips, brow, and even brushes! The only thing the collection was really missing was eyeshadow. But there was enough to do a full face of Rare Beauty!


So I ordered basically one of everything, so I could try it all out. Without further ado, here's my review of Rare Beauty!

Always An Optimist Illuminating Primer

This was the first official product I tried from the line, and I liked it. It's very lightweight and feels great on the skin. It's like putting on a moisturizer, but it's not greasy. It gives the skin a healthy glow. The full size retails for $26, but there's also a travel size for $14, if you just want to test it out. I would recommend this product, if you're looking an illuminating and moisturizing primer.

Monday, May 7, 2018

Real Techniques Brush Crush Collection: What's the Tea?

Hello World!

So a few weeks ago, I ordered the new limited edition Brush Crush Collection from Real Techniques, and I've finally gotten around to using it. The collection has 8 brushes, a sponge, and a silicon applicator. The design of the whole collection is very cute with pink, purple and glitter! But do they work? I tried everything from the collection and here are my thoughts.

301 Foundation Brush - $12.99


This was the first thing I tried from the collection, and I was very disappointed. Real Techniques makes one of my favorite foundation brushes, so I was very excited to try this one. It appears to be very full, dense, and rounded, which would make for easy blending. But the brush hair is very rough and not as densely packed as it appears. It also feels like it's tapered, which makes blending difficult, and leaves streaks. I would definitely recommend you pass on this brush and instead go for the Expert Face Brush


300 Powder Brush - $12.99

This is a perfect powder brush. It's super soft and very full. The arched cut allows you to lightly sweep powder on all areas of your face for a flawless powder application. I would definitely recommend this brush!

302 Blush Brush - $12.99


I was surprised by how much I liked this brush. When I first saw it, I didn't think it was a blush brush because of it's shaped. It has a slightly tapered triangle tip to concentrate the blush on the apples of your cheeks, which I thought would apply too much product in one area. But the brush is soft and fluffy, so product just washes over your cheeks and blends effortlessly. 


303 Contour Brush - $12.99

I like to use contour brushes shaped like this for contouring my nose, more than the rest of my face. But most brushes like this are very thin, so you can apply the contour exactly and then blend it out. But this brush is very thick, which I didn't think would work for my nose. But surprise, surprise... it did! It has a flat edge for applying contour with precision, but because it is so thick and soft, it's like you're blending as you apply. So it works beautifully for both the nose and the face. 

304 Fan Brush - $12.99


I would like to preface this by saying I am not a fan of fan brushes. I much prefer teardrop brushes for highlighting, but fan brushes are meant to apply a soft sweep of product. But that was not the case for this brush. This brush picks up a lot of product. It makes application very easy, but it's definitely not a soft sweep and definitely not a subtle highlight. 


305 Shadow Brush - $9.99

This is your  basic standard eyeshadow blending brush. It's very soft and it has a tapered end, which is great for blending. Besides how it looks, there is nothing special about this brush. But it is a good brush.

306 Kabuki Brush - $16.99

This is easily my favorite thing from the entire collection. First off, this brush is just super cute, but it also performs perfectly. This brush is huge, round, and super soft, which makes it perfect for applying powders including bronzers and highlighters all over the face and body. I LOVE this brush!


Diamond Sponge - $9.99 
This is another item that is super cute but also very functional. This sponge is very soft and gentle on the skin, but firm enough that it keeps it's shape as you press it against your face. The shape of this sponge is perfect for blending in those hard to reach areas of your face. The pointed tip is great for under the eye and around the nose. The flat top is great for all over the face. 

307 Finishing Brush (only available in Shimmer + Shine Set)
This is a nice brush. It's very similar to the 302 Blush Brush, but it's slightly smaller and less tapered. But it's super soft and applies powders nicely. 

Diamond Foundation Applicator (only available in Luminous Glow Set)

Real Techniques described this as a "smooth, flexible surface helps to hygienically transfer product to your skin." And that's pretty accurate. This is nice way to apply liquid product to face without having to use your fingers or using too much product, but you will still need a brush or sponge, because you can't blend with this. It works fine, but it seems unnecessary to me. 


Overall, I really like this collection. I think it's super cute and pretty affordable. You can also save some money you buy one of the two sets offered by Real Techniques. The Luminous Glow set comes with the 304 Fan Brush, the 302 Blush Brush, the 303 Contour Brush, the Diamond Foundation Applicator, and the Diamond Sponge. It retails for $29.99. The Shimmer + Shine set comes with the 300 Powder Brush, the 305 Shadow Brush, the 307 Finishing Brush, and a cute makeup bag. It also retails for $29.99. The only brush I would not recommend is the 301 Foundation Brush, and if you're only going to get one thing from this collection it should be either the 306 Kabuki Brush or the Diamond Sponge. 


Happy Makeup Monday!
~Kerin


P.S. - Follow me on Instagram (@kerinskorner) to see all my makeup looks!

Monday, April 16, 2018

Makeup Tutorial: Least Used Products

Hello World!

Whenever I do my makeup, I find myself always reaching for the same products. I have like 2-3 products that I'll just keep in rotation, or I'll buy something new, and then only use that for a few months. What can I say? I like what I like.


But I was going through my makeup collection, and I rediscovered some products that I really like, but for some reason, I never reach for. So, I created this look using the least used products that I have!


Here's the tutorial on how I got this look!

Step 1: Prime! I used the Mac Prep + Prime Skin Base Visage. I like this primer because its a lotion, so it feels just like a moisturizer, but it's gel-based, so it's not greasy, and it's super lightweight. But I never reach for it because it adds radiance, and I usually try to use oil-controlling primers.


Step 2: Foundation!  I used the Marc Jacobs Genius Gel Supercharged Foundation in the shade Cocoa. Unfortunately, this foundation is discontinued, but I really like it, because it's lightweight, has good coverage, and leaves your skin looking radiant. However, this foundation is not long wearing on oily skin, so I never use it, unless I only need to have my makeup on for a short amount of time. 

Step 3: Concealer! 
I applied concealer to brighten my under eye area and cover any dark circles and to highlight the bridge of my nose I used the Benefit Boi-ing concealer in the shade Medium. This concealer is good because it's super full coverage and very long lasting. However I don't like to use it, because it's really difficult to blend and it feels like a greasy balm. 

Step 4: Powder! For this look I used two different powders. First, I set my entire face, with the It Cosmetics Bye Bye Pores Pressed Powder. I like this powder because it leaves the skin looking and feeling really smooth, but it's also stark white, so I pass, since I'm not usually in the mood for flashback! 
Then I baked my under eye using the Sephora Bright Set Loose Finishing Powder. I don't really know why I stop using this powder. I used to use it all the time, because it's a really good yellow shade, that really highlights my skin tone. 


Step 5: Eyebrows!  To fill in my brows, I used Benefit ka-Brow! in the shade 5. This is a great brow cream-gel, where you can create both soft natural brows and bold full brows, but I don't tend to use it simply because I prefer brow pencils. I then set my brows with Benefit 24-Hr Brow Setter.


Step 6: Eyes!  
I used the Urban Decay Naked Smoky Palette. This was actually my first time using this palette, and it's been in my collection for a very long time. I really love the quality of Urban Decay shadows, particularly the Naked collection, but the colors in this palette are pretty cool-tone, and I usually gravitate to warmer palettes. To create this look, I first applied the shade Password (neutral brown) into my crease. Then I blended the shade Whiskey (deep golden brown) into the outer portion of my eye. I then placed the shade Radar (brown-gold) all over my lid, and I finished by applying the shade Dirtysweet (cool gold) as an inner-corner and brow bone highlight.

Step 7: Bronzer!  
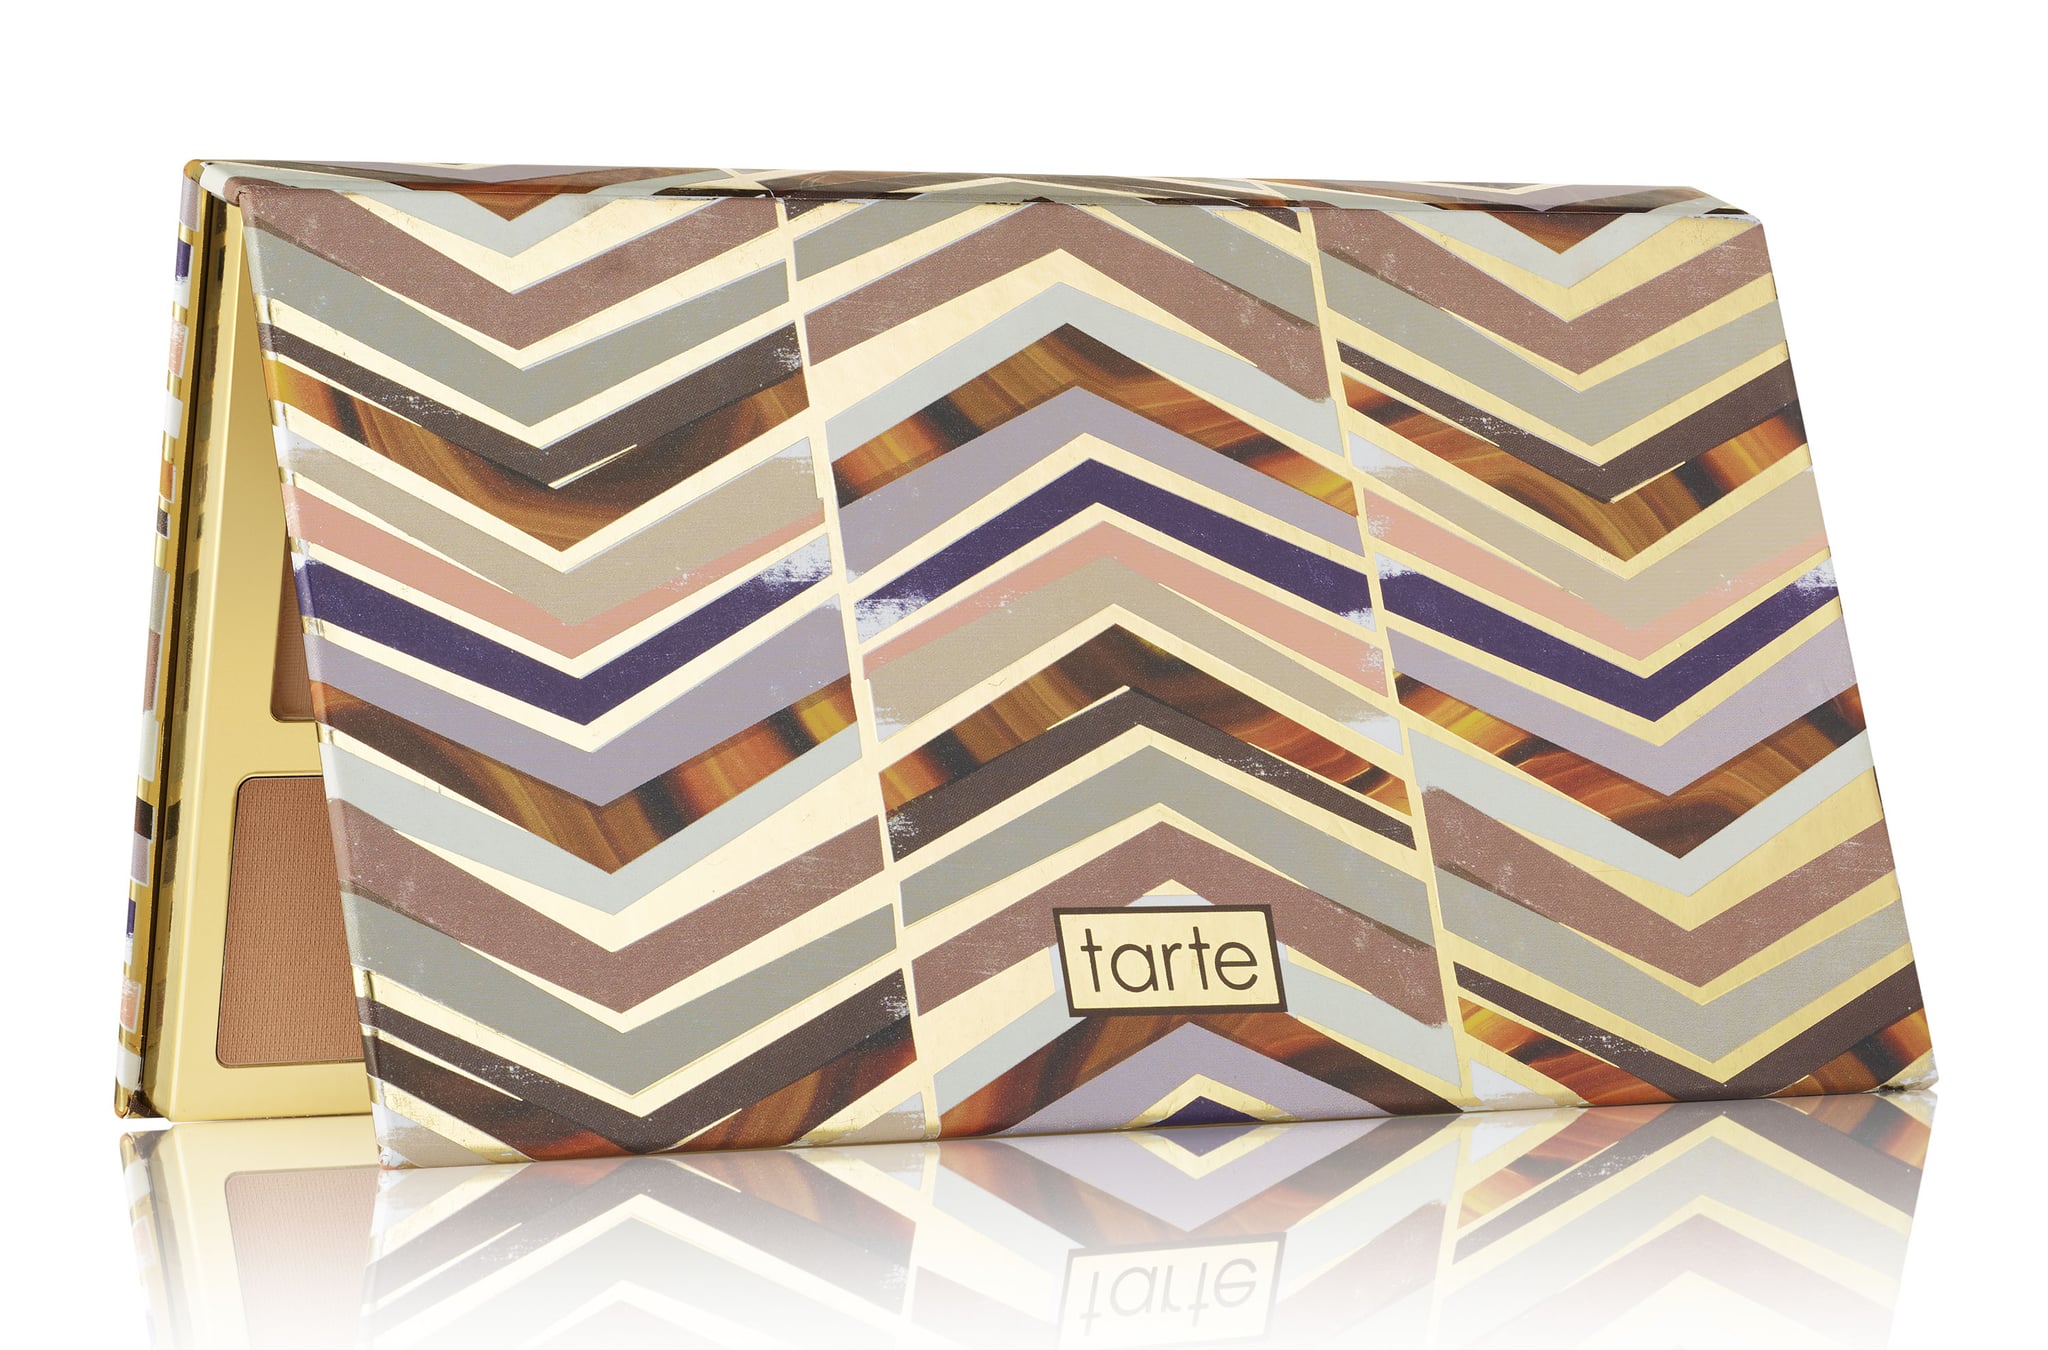
I applied bronzer to the perimeter and contours of my face. I mixed the shades 3 & 4 from the Tarte Tartiest Contour palette III . I like the contour and bronzer shades in this palette, but I don't really care for blush and highlighters, so I don't really use this palette. 


Step 8: Highlight!  I applied highlighter lightly to the tops of my checks, browbone, and bridge of my nose. I used Becca x Chrissy Teigan Glow Face palette, and used the shade 2, Beach Nectar. I like all the shades in this palette, and there is no real reason I never use it. I guess it just gets lost in the bottom of my collection.

Step 9: Blush! I applied blush in between my highlight and bronzer in a downward motion from the top of my cheekbones to the apple of my cheeks. I used the shade La Vida Mocha from the Beauty Bakerie Coffee & Cocoa Bronzer palette. This is a super vibrant, super pigmented, red-orange blush that looks great on dark skin. But I don't really wear blush, so I hardly ever use it. 


Step 10: Set! I used e.l.f. Makeup Mist & Set  to set my makeup. I talked about this setting spray in my best of e.l.f post because it really is great, but I never use it because my Boscia White Charcoal mattifying setting spray is always sitting conveniently on my beauty desk, so I just grab it instead of searching for another setting spray. 


Step 11: Eyeliner and mascara!
  I applied liner to both my top and bottom lash line and I used the Eyeko Skinny Liquid eyeliner. I like this liner because it has a very precise tip and goes on very smoothly. I don't use it much, because I just don't wear liquid liner that often. 

For my lashes, I first applied the Lancome Cils Booster lash primer to my top and bottom lashed,  and I really like it and it does make your lashes look longer and fuller, but it's just an extra step, I don't have time for. 

I then followed that with the Lancome Hypnose Drama mascara. This is great mascara with a really unique brush, but I have so many mascaras, it just gets lost in the collection. 


Step 12: Lips! I finished the look off with the Beauty Bakerie Lip Whip in the in the shade Hazelnut Swirl from the Beauty Bakerie x Gabby Douglas collection. This shade is beautiful metallic brown gold, and it looks great on and lasts forever! But I never reach for it, because it's uncomfortable to wear and almost impossible to remove.


Step 13: Selfie! Share on Facebook, Instagram, Snapchat, kerinskorner.com, etc. 


Happy Makeup Monday!
~Kerin


P.S. - Follow me on Instagram (@kerinskorner) to see all my makeup looks!

Monday, March 12, 2018

Makeup Monday: Best of e.l.f.!

Hello World!

e.l.f. cosmetics is one of my favorite brands, because they make really good products and they are insanely affordable. I created this look using some of my favorite e.l.f. products.


If you're looking for some affordable makeup that works, I recommend checking out e.l.f. Here's a list of what I think are their best products, and what everyone should have in their makeup kits!


This is a great primer. It smooths out your skin, and blurs imperfections, so you have an even canvas for makeup application. It is also infused with Tea Tree and Vitamins A & E for restorative benefits.


This foundation is full-coverage, lightweight, and blends to a demi-matte finish.The only drawback is that the shade range is very limited. I wear the shade Coco.


Instant Lift Brow Pencil - $2

I LOVE this brow pencil! It has a precise tip that makes it easy to define, shape, and fill in your brows. It glides on really easy. It comes in 3 colors. I use the shade Deep Brown, and I think it has the perfect balance between warm and neutral.


Prime & Stay Finishing Powder - $2

This powder is great for  setting your makeup and touch-ups. It reduces the appearance of fines lines and mattifies, to give you a smooth flawless finish.


Mad for Matte Eyeshadow Palettes - $10

These eyeshadow palettes are very pigmeted and blend easily. I really like the Jewel Pop and the Nude Mood palettes and Nude Mood palette is on sale right now for only $4!


Long-Lasting Lustrous Eyeshadow - $3

These eyeshadows are super soft and creamy, but they don't dry out. They also blend easily, and pack on a lot of color.


Powder Blush Palette (Dark) - $6

This hands-down my favorite blush palette. It comes in the perfect shades for dark skin, that you can mix and match. It also blends perfectly and lasts all day!


They recently improved the brush and formula for this mascara, and it's much better. This mascara adds a lot of length and volume.


Makeup Mist & Set - $6

This setting spray helps your makeup to last all day! It can also be used to revitalize your makeup throughout the day! It also contains aloe, green tea, cucumber, and vitamins A, C, and E to soothe and hydrate the skin.


Eyeshadow "C" Brush - $3

This is my  favorite eyeshadow blending brush. It has the perfect shape to used for both the crease and the lid. It can also be used with wet or dry products. 


If there are any specific posts you'd like to see, let know via comment, twitter, instagram, etc. 

Au Revoir,
~Kerin


P.S. If you have a google account, make sure to hit the follow button on the top left to follow the blog

P.S.S. Follow me on twitter and instagram @kerinskorner to stay up to date!

Monday, February 26, 2018

Maybelline Superstay Full Coverage Foundation: What's The Tea?

Hello World!


I've been dying to get my hands on the new Superstay Full Coverage Foundation from Maybelline, and I finally got to try it!  Here's the look I created  using the foundation, and I think it turned out beautifully. I used the shade 356 Warm Coconut. 


Maybelline is one of my favorite makeup brands, and definitely my favorite from the drugstore, because they do so many things right. And foundation is definitely one of them! I love the Fit Me Matte + Poreless foundation, and this foundation is like the full coverage version of that! When I say full coverage, I mean FULL coverage! A little goes a long way with this foundation. The coverage is incredible, but it's not heavy and blends easily. It feels super lightweight on the skin, and leaves your skin looking flawless. It has a demi-matte finish, but be warned it dries down pretty quickly, so be prepared when you apply it. But once it dries down, it doesn't budge. I mean it doesn't fade or transfer. This is a foundation that doesn't need to be set with powder. I think this foundation will work best for normal to oily skin, since it is matte. It claims to last for 24hrs, but I don't know about that. It does last for long time, though. The shade range is a good start. It comes in 16 shades, ranging from very fair to deep. It's not as extensive as the Fit Me range, but it's better than a lot of brands. And best of all, this foundation is only $10! It's listed at $11.99, but I know you can get for $9.99 at Target and on Amazon! Overall, I think this foundation is great, and a real steal for it's price. I will definitely continue using it, and would recommend it! 

Buy it here!


If there are any specific posts you'd like to see, let know via comment, twitter, instagram, etc. 

Au Revoir,
~Kerin


P.S. If you have a google account, make sure to hit the follow button on the top left to follow the blog

P.S.S. Follow me on twitter and instagram @kerinskorner to stay up to date!

Monday, February 19, 2018

Makeup Monday: Chocolate Monochromatic Look

Hello World!


I created this look for the e.l.f. Beautyscape contest, so here's the tutorial on how I created this Chocolate Monochromatic Look!

Step 1: Prime! I have oily-combination skin, so I like to use two different primers - a hydrating one and a mattifying one. I first used the Urban Decay Quick Fix Complexion Prep Priming Spray all over my face, and then I applied the Benefit POREfessional Matte Rescue gel  in my T-zone.


Step 2: Foundation!  I used e.l.f. Aqua Beauty Mouse Foundation, but since I wanted a little more coverage, I mixed in the Urban Decay Velvetizer Translucent Mix-In Medium.


Step 3: Concealer! I applied concealer to brighten my undereye area and cover any dark circles and to highlight the bridge of my noseI used  the Maybelline Super Stay Better Skin Concealer + Corrector in the shade Medium/Deep.  I let my concealer sit for while before blending it out, so I can get maximum coverage! 


Step 4: Eyebrows! While waiting I'm waiting for my concealer, I filled in my eyebrows! I used Benefit Goofproof Brow pencil in the shade Deep -06 to fill in by brows and then set them with Benefit 24-Hr Brow Setter.


Step 5: Powder! I  blended out my concealer, and immediately set it with powder! I used MAC x PatrickStarr Patrick's Powder.  I baked under my eye, and also dusted the powder all over my face to set my foundation. 

Step 6: Bronzer!  I applied bronzer to the perimeter and contours of my face. I used the darkest shade the Tarte Clay Play Face Shaping Palette


Step 7: Eyes!  I first applied the MAC Pro Longwear Paint Pot in the shade Groundwork all over my lid as an eyeshadow base and primer. I used two different palettes for this look. I first used the shade, Sundae Funday (medium neutral brown) , from the Beauty Bakerie Eyescream Palette, and I blended that color into my crease. I then used the shade, Drive thru (warm dark brown), from that same palette, and blended that into my crease, focusing on the outer corner. Lastly, I applied the shade Peach Tart, from the Too Faced Just Peachy Mattes palette, all over my lid.

Step 8: Highlight!  I applied highlighter lightly to the tops of my checks, browbone, and bridge of my nose. I used the Becca Shimmering Skin Perfector in the shade, Opal. 


Step 9: Set! I used the Boscia White Charcoal Mattifying Setting Spray  to set all the powders on my face. 


Step 10: Eyeliner and mascara!
  I applied liner to both tmy op and bottom lash line and I used the Marc Jacobs Highliner Gel Crayon in the shade Rococa (golden brown). I then followed that with the L'oreal  Voluminous Lash Paradise mascara. 


Step 11: Lips! I finished the look off with the Sephora #Lipstories Lipstick in the shade Fireside.

Step 12: Selfie! Share on Facebook, Instagram, Snapchat, kerinskorner.com, etc. 


Happy Makeup Monday!
~Kerin


P.S. - Follow me on Instagram (@kerinskorner) to see all my makeup looks!
Blog Design Created by pipdig