A Guide to Radiant Living - Where Wellness Meets Wonder

Big This Week

Recent Posts

Monday, April 17, 2017

'Fun Game Day' Makeup

      
Hello World! Happy NBA Playoffs! So yesterday was game day, so I decided to do a fun look to celebrate. And, of course my team  is the Golden State Warriors, so I used blues and yellows. Go Dubnation!


Step 1: As always I washed and moisturized my face. Skin care is the most important step in any makeup routine. Starting with a clean moisturized face will help your makeup stay on longer. I used Sunday Riley Tidal  Brightening Enzyme Water Cream.


Step 2: Prime! For this look, I used e.l.f. Poreless Face Primer.


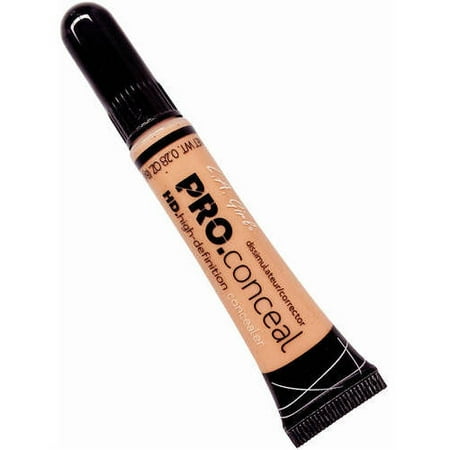
Step 3:  Color Correct!  I used the orange corrector from L.A. Girl HD Pro Concealer. I applied it to the dark spots on my face and under my eyes, and blended it out with a sponge.


Step 4: Foundation.  I used L'oreal Infallible Pro - Matte in the shade Cocoa 112.  I applied it to my face with my fingers and blended it out with a sponge.


Step 5: Powder. This foundation is a little red on me, so I applied a powder to balance out the undertones, and to help keep the foundation from creasing. I used Laura Mercier Translucent Loose Setting Powder in the shade Medium/Deep.


Step 6: Concealer.  I applied concealer under my eyes in a triangle shape from inner corner to top of my cheek bones, along the bridge of my nose, and on my chin. Then I blended it out with a sponge, and "baked" with a translucent powder.  I used  Nars Soft Matte Complete Concealer in the shade Biscuit and the Sacha Buttercup Setting Powder.
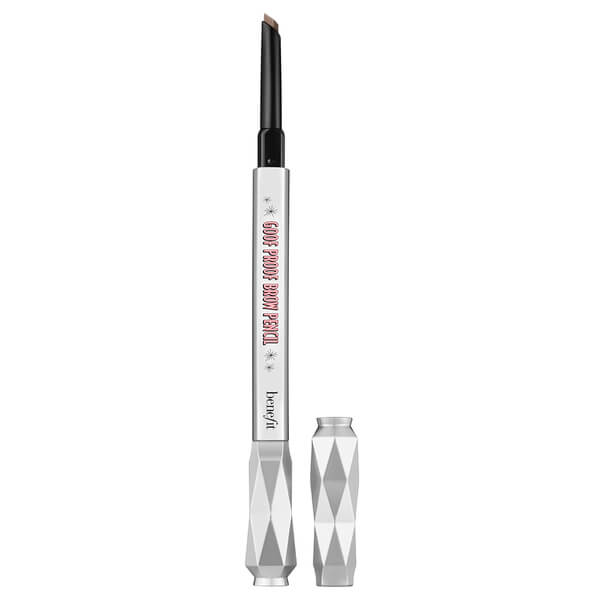


Step 7: Eyebrows!  While my concealer was "baking", I used the Benefit Goof Proof Brow pencil in the shade deep 05 to fill in my brows and the Benefit Ready, Set, Brow! 24-Hour setting gel to set them. See all active offers at Benefit Cosmetics. 


Step 8: Eyes! I applied my eye makeup, while my concealer was still "baking".  First I primed my eyes using Urban Decay Eyeshadow Primer Potion.  Then using my Too Faced Semi-Sweet Chocolate Bar palette, using a fluffy brush, I applied the color Butter Pecan (a shimmery cream/tan color) in my crease as a transition color. Then using my SHANY Comestics eye shadow palette, I applied a yellowish tan color to my crease. Using the same palette, I then applied a bright yellow to my lids using a flat brush. I then applied a bright aqua to the inner and outer corners of my eyes, and blended it into my crease. I then applied a bright blue to the outer corners of my eyes, and using a tampered brush, I dragged then same color along my lower lash line.


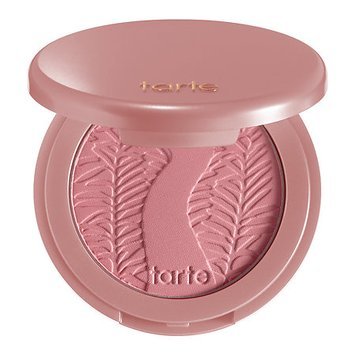
Step 9: Blush! First I dusted off the excess powder from my "baking", then I applied blush in a sweeping motion from the apples of my cheeks to my temples using a fluffy powder brush. I used Tarte Amazonian Clay Blush  in the shade paarty.


Step 10: Highlight!  I applied my highlight right above the apples of my cheeks and along the bridge of my nose, and to the tip of my nose using a fan brush.  I then used a pointed eye brush to apply the highlight below my brow bone. I used the shade Gleam in the Tarte Tartiest Pro Glow to Go highlight & contour palette.


Step 11: Eyeliner and mascara.  I applied a neon blue eyeliner to upper and lower lash line, and then, I applied Marc Jacobs Beauty O!Mega Lash Volumizing mascara in the color All About Yves to my upper and lower lashes.


Step 12: Set! I set my face using L'oreal Infallible Pro-Spray & Set Makeup Extender setting spray.


Step 13: Lips! I didn't have a blue lip color, so I mixed the blue eyeshadow I used from the SHANY Comestics eye shadow palette and a nude lip gloss, to create my blue lip gloss. I used a gloss from the Sephora Collection Lip Artist Palette.


Step 13: Selfie! Share on Facebook, Instagram, Snapchat, kerinskorner.com, etc. 

Happy Playoff Season!
~Kerin

Monday, April 10, 2017

'Blue Smokey Eye' Look

Hello World! Today's makeup look is a twist on the normal smokey eye look, using blue! And a red lip for extra dramatic flare!

Monday, April 3, 2017

'No Makeup' Everyday Look

Hello World! Here's a tutorial on how to get a 'no makeup' everyday makeup look. (Please excuse my crazy eyes, I don't know how to take normal photos 😛.)

Step 1: Wash and moisturize you face. Skin care is the most important step in any makeup routine. Starting with a clean moisturized face will help your makeup stay on longer.

Step 2: Prime! For this look, I used the Maybelline Master Prime by Face Studio - Blur +Illuminate. 


Step 3:  Color Correct! Color correcting is a lifesaving makeup trick. It allows you to use less foundation and concealer, while still covering up those little imperfections.  I used the orange corrector from L.A. Girl HD Pro Concealer. I applied it to the dark spots on my face, and under my eyes, and blended it out with a sponge. Check it out here! 
Step 4: Foundation.  Apply a mattifying foundation using a dense makeup brush for maximum control.  For this look, I used Maybelline  Fit Me Matte +Poreless in the shade 355 Coconut. Check it out here!


Step 5: Concealer.  Apply a skin tone concealer under eye in a triangle shape from inner corner to top of your cheek bones if you have a wider face like me, and if you have a narrower face, apply in a round shape right under your eye. Also apply along the bridge of your nose, and on your chin.Then blend it out with a sponge, and set it with a translucent powder.  I used Maybelline  Super Stay Better Skin Concealer + Corrector in the shade Medium/Deep. Check it out here!

Step 6: Fill in your eyebrows. I have pretty thick eyebrows, so they don't need that much filling in, but I still do it. There is no universal way to fill your eyebrows, but I think using a pencil is the easier way to get your desired shape. I used the Anastasia Beverly Hill Brow Definer in the shade Dark Brown. Check it out here!


Step 7: Eyes! First using a fluffy eye brush, I applied a skin tone color in my crease using sweeping motions. Next using the same brush, I applied a darker brown color in the outer corners of my eye. Then, using a flat brush, I applied sparkly brown color on my lids, patting not swiping, to build the color.  Then I used a cream color to highlight the arch in my brow and the inner corners of my eyes using a pointed brush. For this look, I used The Nudes palette by Maybelline. Check it out here! 

Step 8: Eyeliner and mascara. Finish off your eyes by applying a black liquid eyeliner and black mascara to your upper and lower lash line. I used Eye Studio Master Precise Liquid Liner by Maybelline and the Great Lash Mascara also by Maybelline. Check out the liner here! Mascara here!


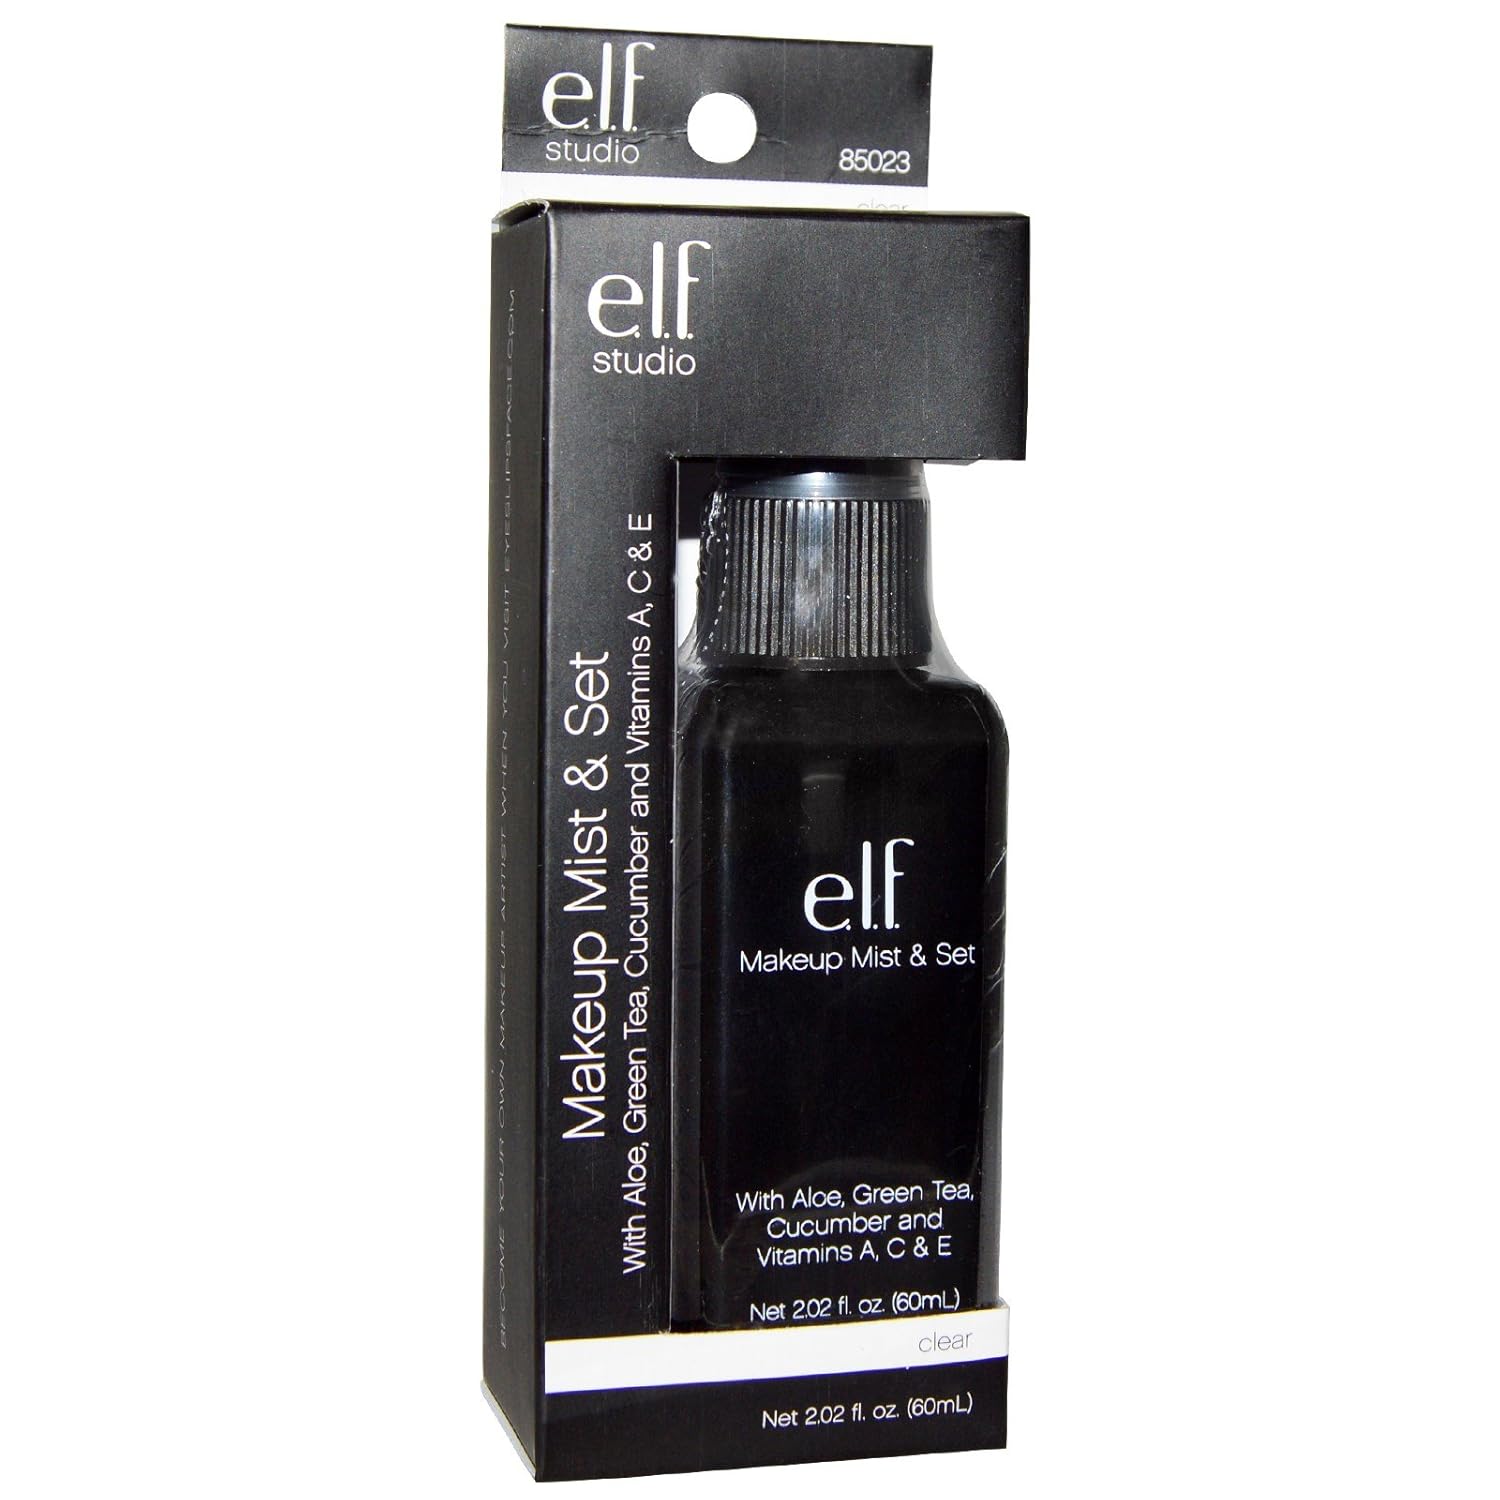
Step 9: Set your face! Keep your makeup in place, by using a makeup setting spray. I used e.l.f. Makeup Mist & Set. Check it out here!

Step 10: Lip gloss! Apply a nude pink lip gloss. I used one from the Sephora Collection Lip Artist Palette. Check it out here!


Step 11: Selfie! Not a necessary step, but who wouldn't want to show off their fabulous makeup!

And that's all folks. Until next time!
~Kerin
Blog Design Created by pipdig