


Hello World! Happy NBA Playoffs! So yesterday was game day, so I decided to do a fun look to celebrate. And, of course my team is the Golden State Warriors, so I used blues and yellows. Go Dubnation!
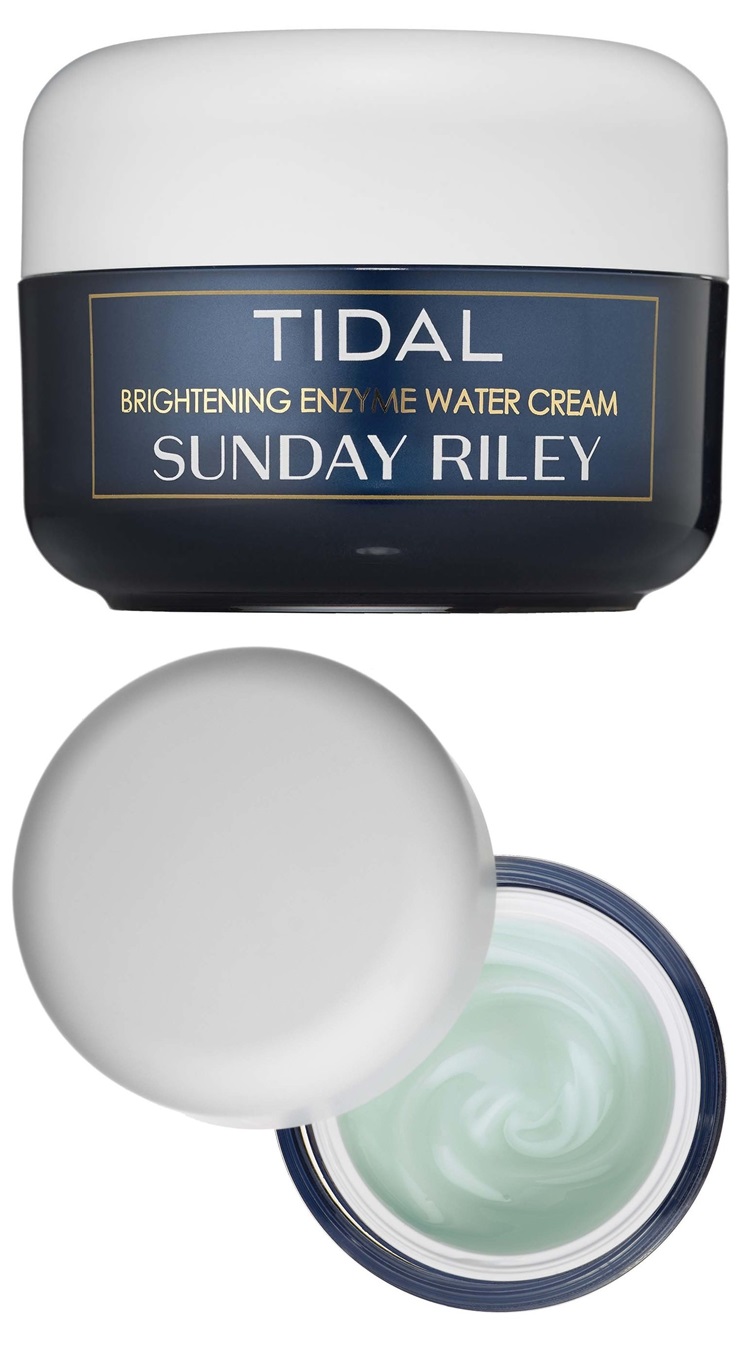
Step 1: As always I washed and moisturized my face. Skin care is the most important step in any makeup routine. Starting with a clean moisturized face will help your makeup stay on longer. I used Sunday Riley Tidal Brightening Enzyme Water Cream.

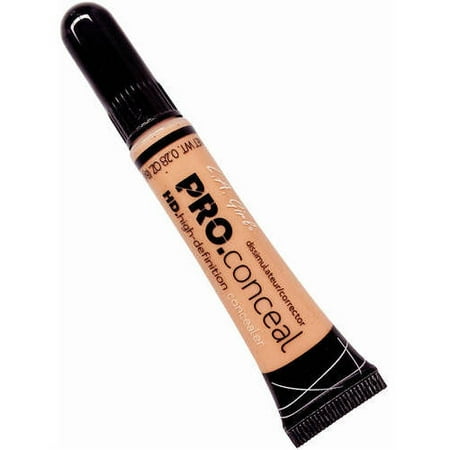
Step 3: Color Correct! I used the orange corrector from L.A. Girl HD Pro Concealer. I applied it to the dark spots on my face and under my eyes, and blended it out with a sponge.
 Step 4: Foundation. I used L'oreal Infallible Pro - Matte in the shade Cocoa 112. I applied it to my face with my fingers and blended it out with a sponge.
Step 5: Powder. This foundation is a little red on me, so I applied a powder to balance out the undertones, and to help keep the foundation from creasing. I used Laura Mercier Translucent Loose Setting Powder in the shade Medium/Deep.

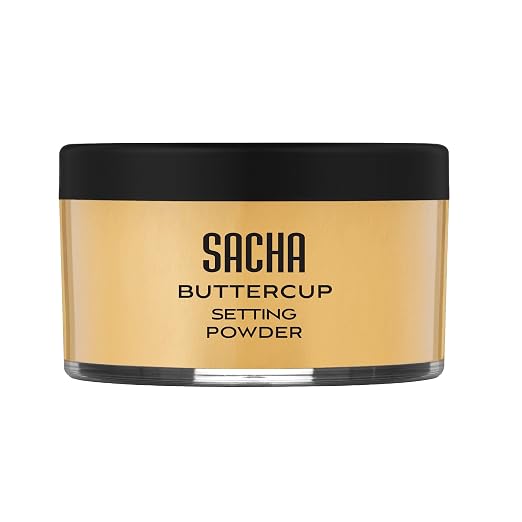 Step 6: Concealer. I applied concealer under my eyes in a triangle shape from inner corner to top of my cheek bones, along the bridge of my nose, and on my chin. Then I blended it out with a sponge, and "baked" with a translucent powder. I used Nars Soft Matte Complete Concealer in the shade Biscuit and the Sacha Buttercup Setting Powder.
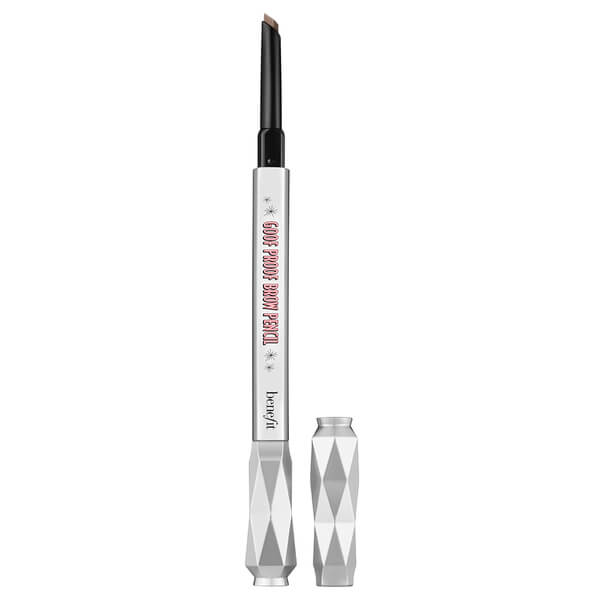 Step 7: Eyebrows! While my concealer was "baking", I used the Benefit Goof Proof Brow pencil in the shade deep 05 to fill in my brows and the Benefit Ready, Set, Brow! 24-Hour setting gel to set them. See all active offers at Benefit Cosmetics.
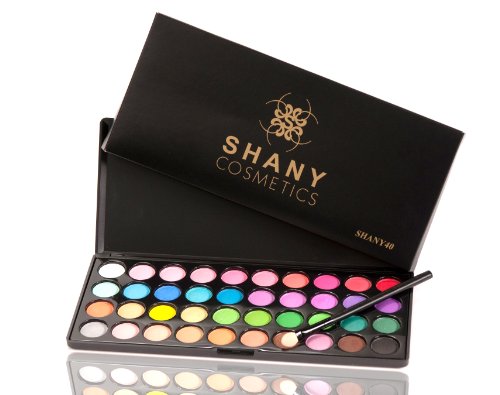

 Step 8: Eyes! I applied my eye makeup, while my concealer was still "baking". First I primed my eyes using Urban Decay Eyeshadow Primer Potion. Then using my Too Faced Semi-Sweet Chocolate Bar palette, using a fluffy brush, I applied the color Butter Pecan (a shimmery cream/tan color) in my crease as a transition color. Then using my SHANY Comestics eye shadow palette, I applied a yellowish tan color to my crease. Using the same palette, I then applied a bright yellow to my lids using a flat brush. I then applied a bright aqua to the inner and outer corners of my eyes, and blended it into my crease. I then applied a bright blue to the outer corners of my eyes, and using a tampered brush, I dragged then same color along my lower lash line.


Step 11: Eyeliner and mascara. I applied a neon blue eyeliner to upper and lower lash line, and then, I applied Marc Jacobs Beauty O!Mega Lash Volumizing mascara in the color All About Yves to my upper and lower lashes.

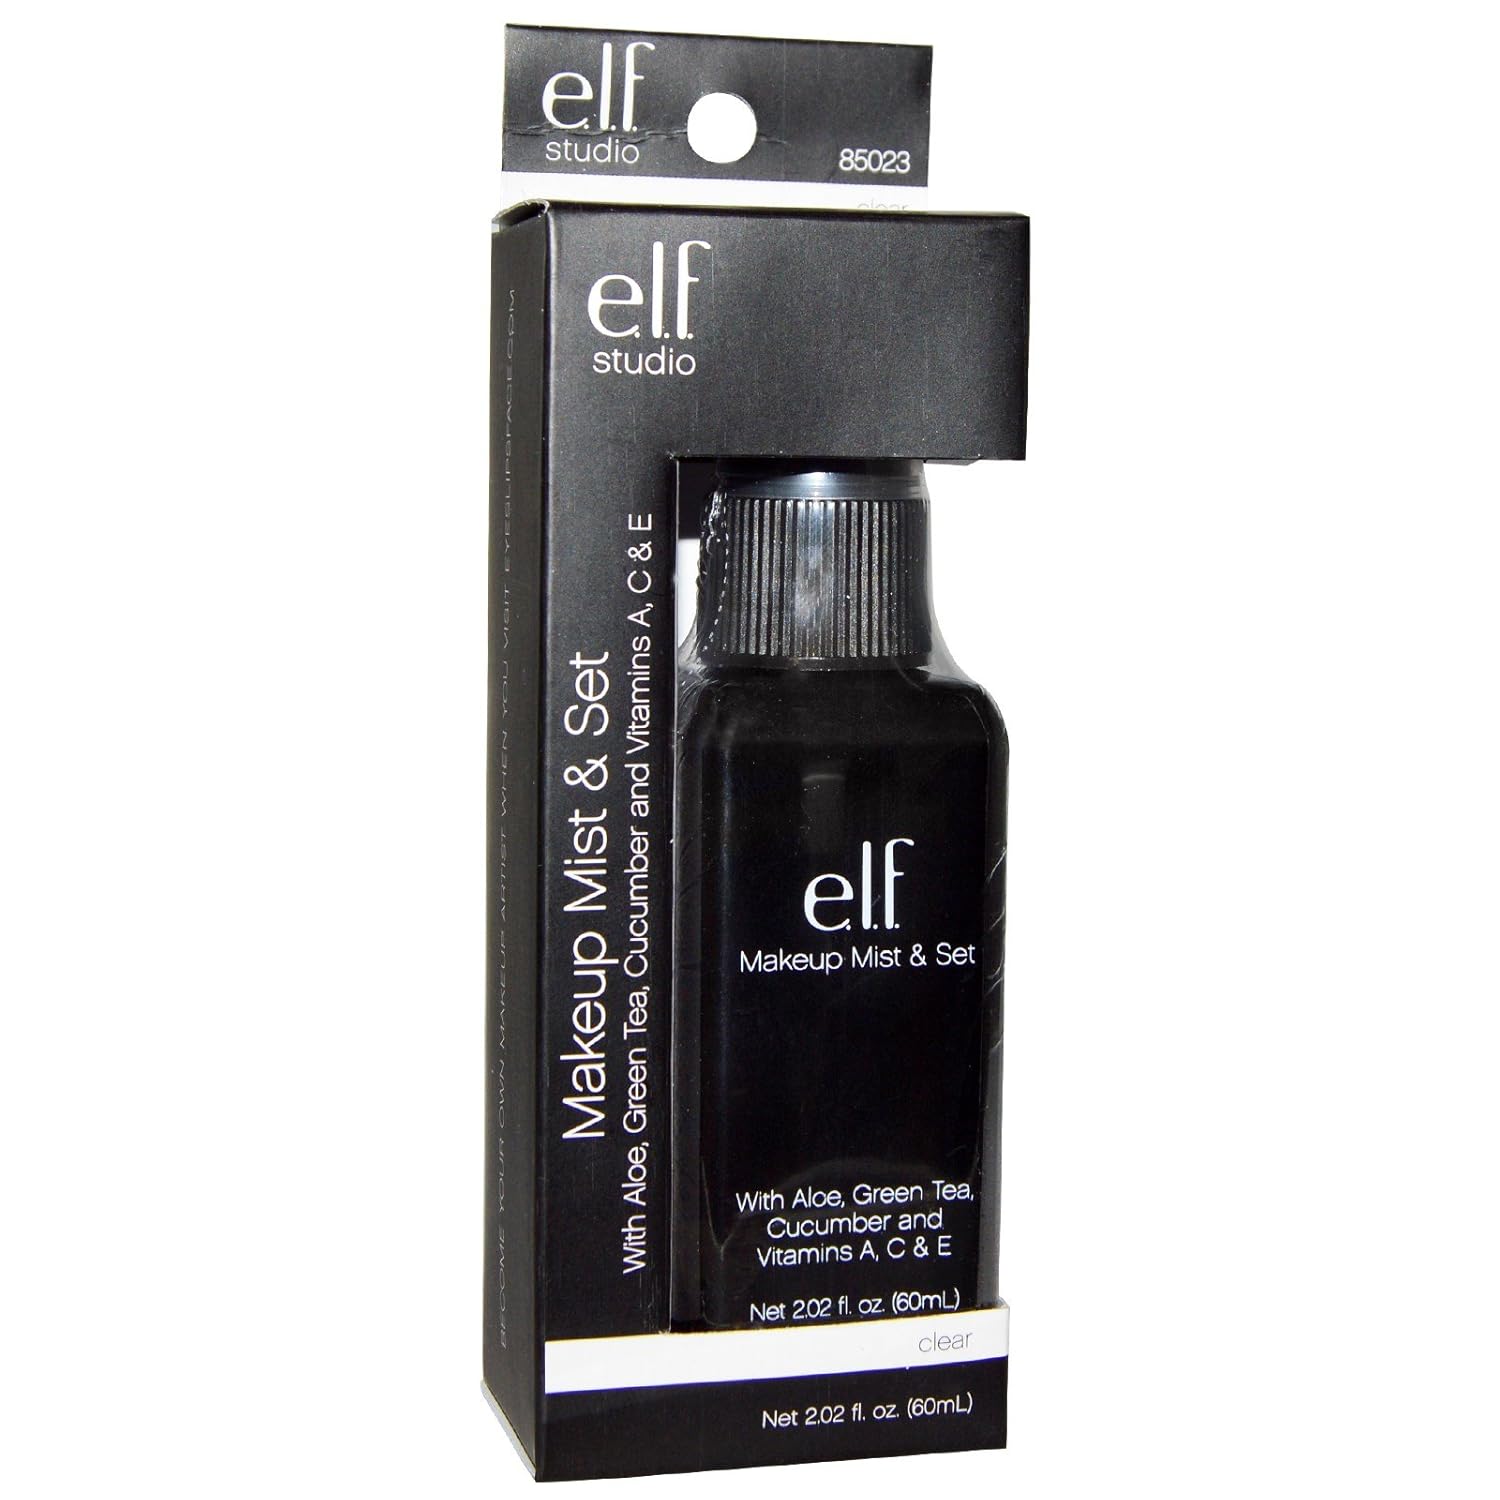
Step 12: Set! I set my face using L'oreal Infallible Pro-Spray & Set Makeup Extender setting spray.
 Step 13: Lips! I didn't have a blue lip color, so I mixed the blue eyeshadow I used from the SHANY Comestics eye shadow palette and a nude lip gloss, to create my blue lip gloss. I used a gloss from the Sephora Collection Lip Artist Palette.
Step 13: Selfie! Share on Facebook, Instagram, Snapchat, kerinskorner.com, etc.
Happy Playoff Season!
~Kerin


